Frequently Asked Questions
|
... about your final project Overheard in the TechnoLounge this week, asked and answered! More Frequently Asked Questions |
|||
|
I can't find the images I need for my movie. Where can I find them? Try www.AltaVista.com or www. Google.com and choose Images from the link choices. Type in your request and Search. Jeannene has sound FX CDs and odd digitized movie clips on ROMs if you want to look through them for pieces to use.
|
 |
||
|
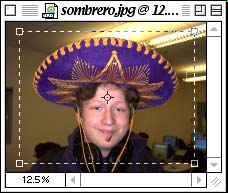
What size should my sized images be? Are your images scanned or found on the Internet? Scanned images: width =640 pixels x 480 pixels (height) 150dpi
Internet found Images: width =320 pixels x 240 pixels (height) 72dpi
|
Hint: Use the Crop tool (tucked under the square Marquee) on the Photoshop tool palette. For naturally vertical images, review the tutorial. |
||
 |
|||
|
Start with the voiceover, it is the foundation for constructing your movie. Import you voiceover folder into your Premiere project. Drag the folder icon into an Audio track, if the files were properly saved and named they will line up in sequence. You can then determine the position and duration of your imported still images in the timeline in reference to your voiceover's markers. Drag and snake your images into the Video tracks to match them with the marked points of your voiceover. |
 |
||
 |
|||
|
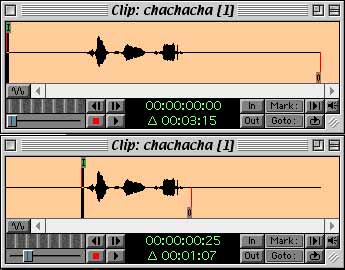
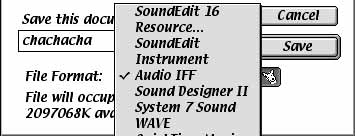
I have silent gaps at the beginning and end of my voiceover? Change the IN and Out point of your clip to trim off the 'dead air'. Double click the audio clip to display it and place the playhead at the point where your voice begins and the silence ends. Click the In button to create the In point of your clip (where the sound comes in). Use the same procedure for the end of your voiceover, but use the Out button to create the point where your voice finishes. This procedure will shorten the duration of your clip, so adjust its position in the timeline to create a consistent flow with surrounding clips. You can also edit them in Soundedit 16. This will work best for chunks you want to remove from within your recording.
|
|
||
|
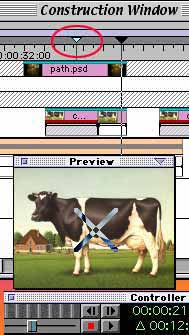
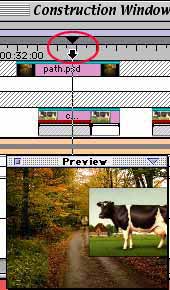
Why is there an X in my preview window? You're dragging your cursor in the dark grey band of the timeline, instead of the ruler. The dark grey band above the timeline ruler will spawn a Controller to play your movie with audio but will not display any transitions or special effects you have applied to your images. The cursor becomes a small blue divot when positioned in this dark grey band. Dragging your cursor in the timeline ruler will allow you to preview the transitions and special effects. The cursor will change to a down-pointing arrow when your cursor is properly positioned in the ruler band. |
|
||
>>